How To Create "AutoText" Using Stream Deck
Save text that can be pasted into any document or email. If you find yourself typing the same words/ sentences/ paragraphs over-and-over, you can save the text into Stream Deck to paste into any document.
Stream Deck has a text size limitation of 500 characters. But, there's a way to expand beyond 500 characters.
Text cannot be internally formatted within Stream Deck. But, there's a way to format the text in Microsoft Word and Outlook.
- Create AutoText up to 500 Characters
- Create AutoText of More than 500 Characters
- Format AutoText in Word or Outlook
Create AutoText up to 500 Characters
1) In the Stream Deck app/ program sidebar, under System, find "Text" action.

2) Drag & drop "Text" action onto a blank button.
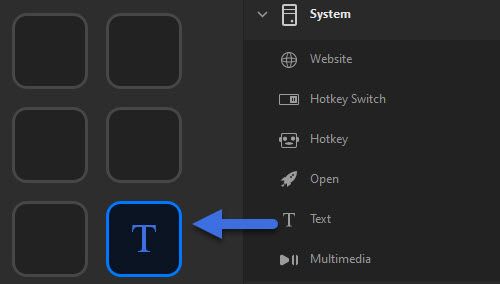
3) Click the new "Text" button to configure.
Name the button "Title" based on something related to the AutoText entry to easily identify. (example: Disclaimer)
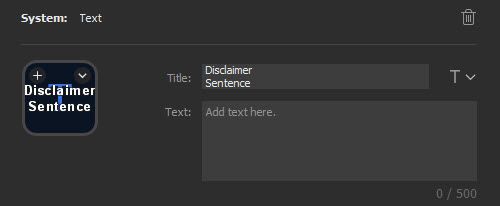
- Tip: If the name is too long, press enter between words to create two centered lines. This is the name of the Stream Deck button (this does not specify the AutoText entry).
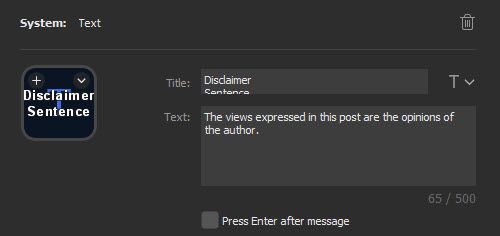
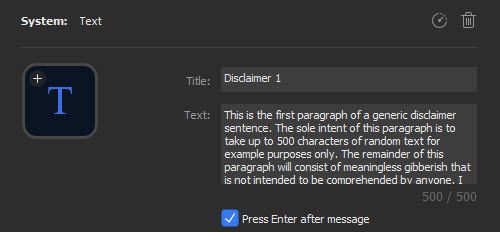
4) Enter your desired text up to 500 characters. In the bottom right corner, it will tell you how many characters have been used. Decide whether or not you want to "Press Enter after message."
5) Test that it works where you intend to use it. (Word, Outlook, Notepad, Gmail, etc.) Example: here are the results after opening Notepad and pressing the Disclaimer Sentence button on Stream Deck.

Create AutoText of More than 500 Characters
These directions are similar to the above, but require Multiple Actions. Start with a new button.
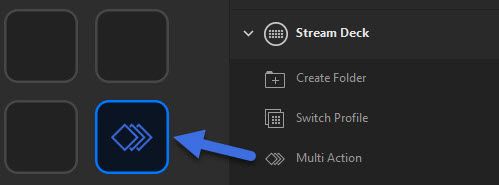
1) In the Stream Deck app/program sidebar (under "Stream Deck"), find "Multi Action" action.

2) Drag & drop "Multi Action" action onto a blank button.
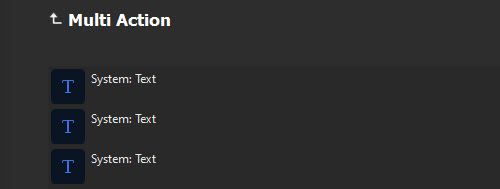
3) Click into new Multi-Action Button. Drag & drop "Text" action (under "System"). Based on the length of your text, drag however many "Text" actions you need based on each only having room for 500 characters. Example: 1,500 characters of text will require 3 "Text" actions.
4) Enter your desired text up to 500 characters. In the bottom right corner, it will tell you how many characters have been used. Decide whether or not you want to "Press Enter after message." If paragraph breaks are desired, select "Press Enter." If you want to string all text inputs together, do not "Press Enter."
5) Continue entering the text for the remaining "Text" actions.
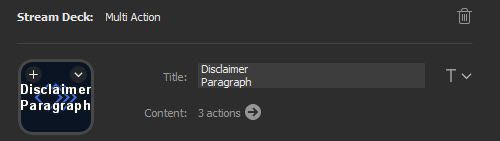
6) Press the Multi Action "up" arrow to return to the button screen.
7) Name your button (example: Disclaimer Paragraph)
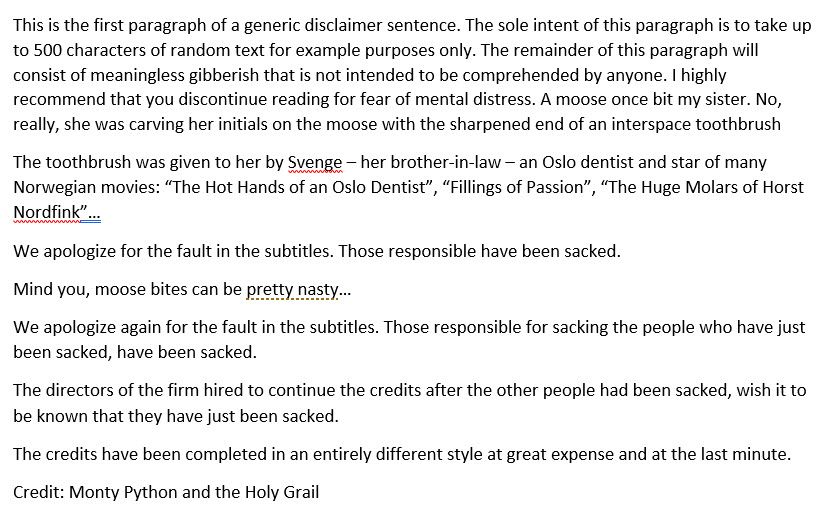
8) Test that it works where you intend to use it. (Word, Outlook, Notepad, Gmail, etc.) Example: here are the results after opening Word and pressing the Disclaimer Paragraph button on Stream Deck.
Word:
Format AutoText in Word or Outlook
This method utilizes the pre-existing formatting "Styles" in Word and Outlook. Multiple Actions are used. The example that follows will show how to insert text formatted with a Header, and then insert text below the Header with Normal formatting.
1) In the Stream Deck app/program sidebar (under "Stream Deck"), find "Multi Action" action.
2) Drag & drop "Multi Action" action onto a blank button.
3) Click into new Multi-Action Button.
- Drag & drop "Hotkey" action (located under "System").
- Drag & drop two "Text" actions (located under "System").
- Drag & drop another "Hotkey" action.
- Drag & drop two more "Text" actions.


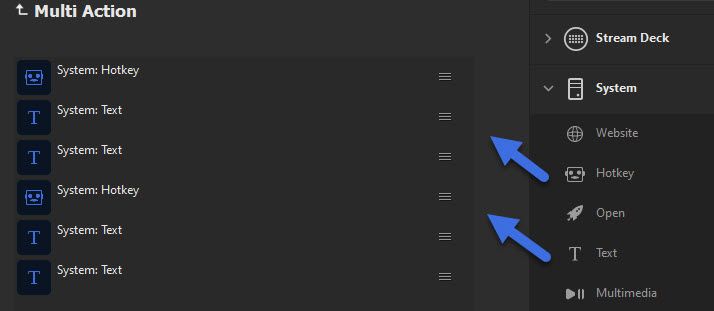
- Tip: The order needs to be Hotkey, Text, Text, Hotkey, Text, Text.
4) 1st "Hotkey" action: select "click to assign" and on your keyboard press: CTRL Shift S
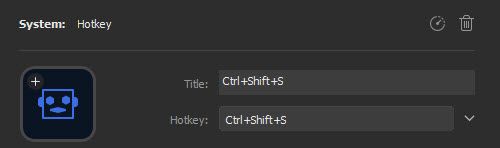
- Tip: You can press & hold the Control button, then the Shift button, then the letter S. Or, you do not have to hold down the buttons, but they need to be pressed in the listed order.
- Tip: CTRL + Shift + S is the Microsoft Winders shortcut command to open the "Apply Styles" command in Word or Outlook. If CTRL + Shift + S performs a different action, it is possible that a different program on your computer is using this shortcut.
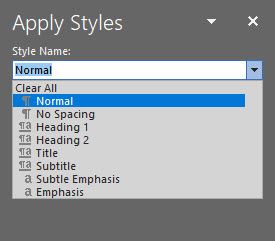
5) Choose the Style Name you wish to use. The above is based on generic Word Styles. It is possible that you might have custom names if a company you work for has created them. You can use any proprietary style names you might have. In this example, we will use Heading 1 as the first entry.
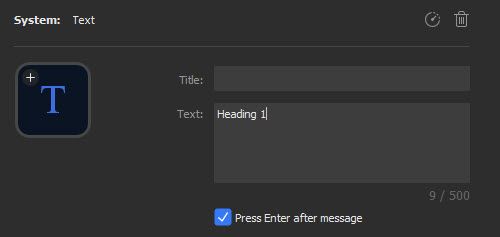
6) 1st "Text" action entry: enter Heading 1 under Text (this is the Style Name), and check the "Press Enter after message" box.
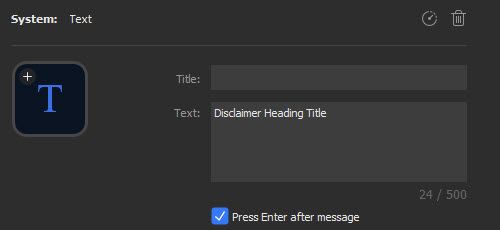
7) 2nd "Text" action: enter the AutoText header/ title you want typed in Word (Example: Disclaimer Heading Title), and then select the box for "Press Enter after message"
8) 2nd "Hotkey" action: (same directions as above) select "click to assign" and on your keyboard press: CTRL Shift S

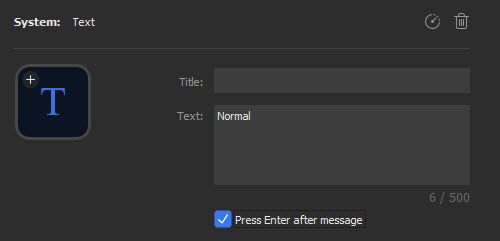
9) 3rd "Text" action: enter Normal under Text (this is the Style Name), and check the "Press Enter after message" box.
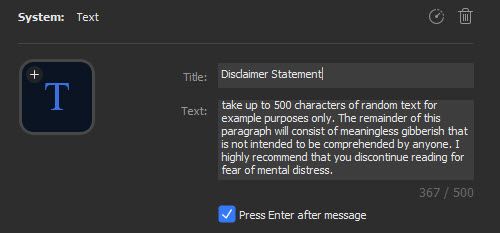
10) 4th "Text" action: enter the AutoText you want typed into Word.
11) Press the Multi Action "up" arrow to return to the button screen.
12) Name your button (example: Disclaimer Paragraph)
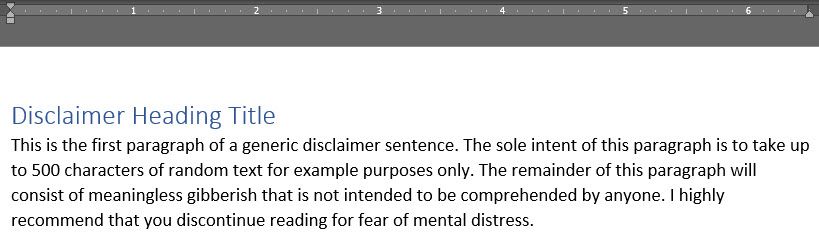
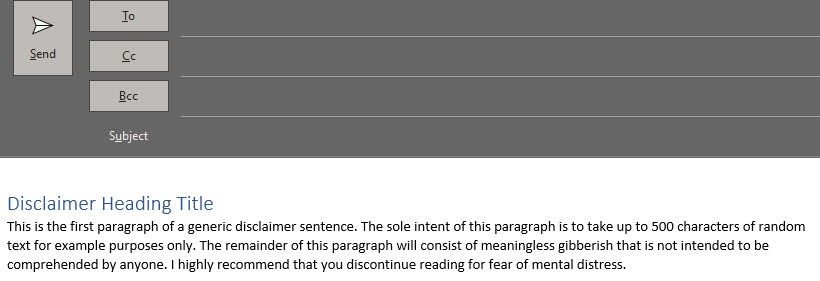
8) Test that it works where you intend to use it. Examples: here are the results after opening Word & Outlook and pressing the Disclaimer Paragraph button on Stream Deck.
Word:
Outlook:
- Tip: You can continue to add multiple text entries to expand beyond 500 characters, and/or continue to add multiple CTRL Shift S "style" changes and subsequent "Text" actions to create whole sections.