How to Insert a Signature (or Image) in Word Using Stream Deck

Insert your signature / image in Word using Stream Deck. If you regularly must insert an image of your signature, or perhaps another image like a business logo, you can create a "QuickPart/ AutoText" in Word of the signature/ image, and use Stream Deck to populate it in your documents.
1) Open a Word document and manually insert your signature or image that you want to save. Let's use Walt Disney's signature.
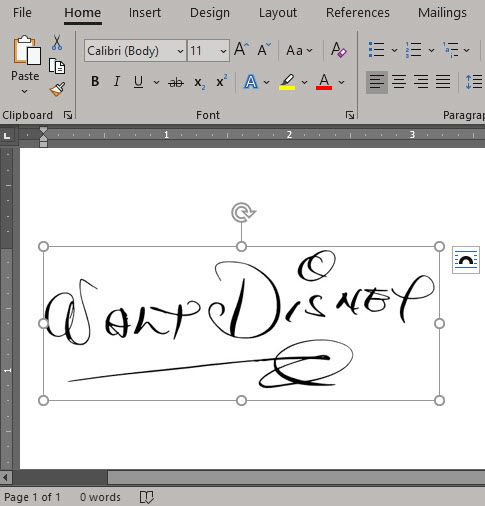
2) Click on the signature/ logo image (select the image). On the Word Ribbon, click "Insert" and then "Quick Parts" and then "Save Selection to Quick Part Gallery."
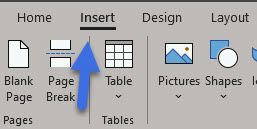
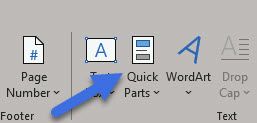
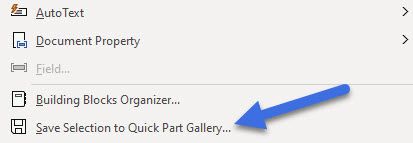
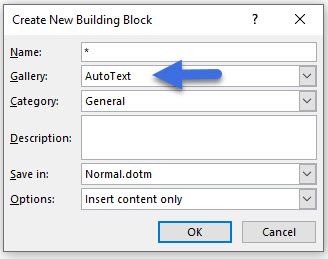
3) Under "Gallery" select dropdown and change to "AutoText"
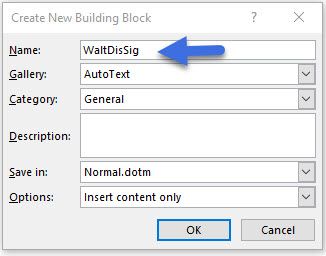
4) Name it something unique (example: WaltDisSig)
5) Open Stream Deck app/ program.
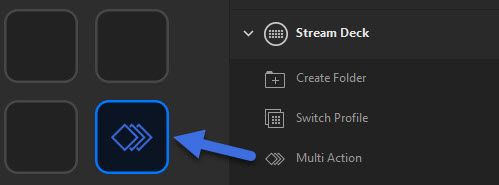
6) In the Stream Deck app/program sidebar (under "Stream Deck"), find "Multi Action" action.

7) Drag & drop "Multi Action" action onto a blank button.
8) Click into new Multi-Action Button. Drag & drop "Text" action & then "Hotkey" action (both under "System").


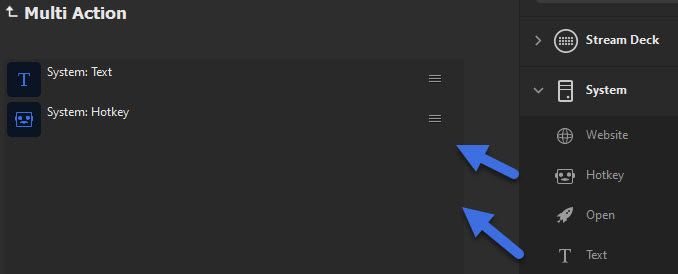
- Tip: the "Text" action needs to be before the "Hotkey" action.
9) "Text" action: input the unique Building Block/ AutoText name (example: WaltDisSig). Leave the "Press Enter after message" box blank/ unchecked.
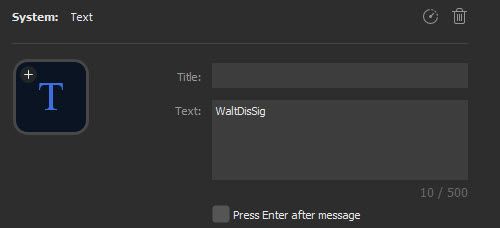
10) "Hotkey" action: under "Click to assign" press the F3 key on your keyboard.

- Tip: F3 is the command that tells Word to convert the AutoText text string into the image.
11) Press the Multi Action "up" arrow to return to the button screen.

12) Name your button (example: Walt Dis Sig)

13) Test that it works. Open Word and press the Stream Deck "Walt Dis Sig" button. Magic.
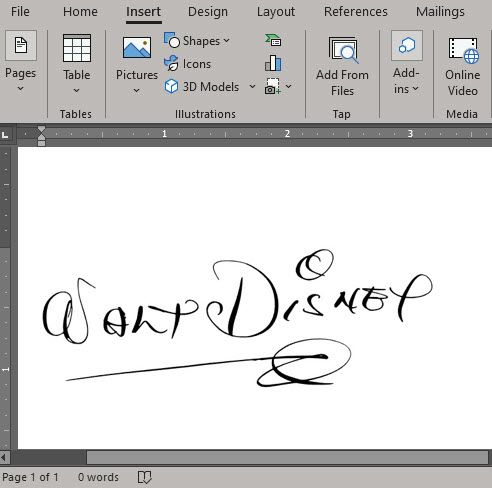

- Tip: you can do this for many different signatures or images. Just use unique names in the BuildingBlock/ AutoText section of Word.